
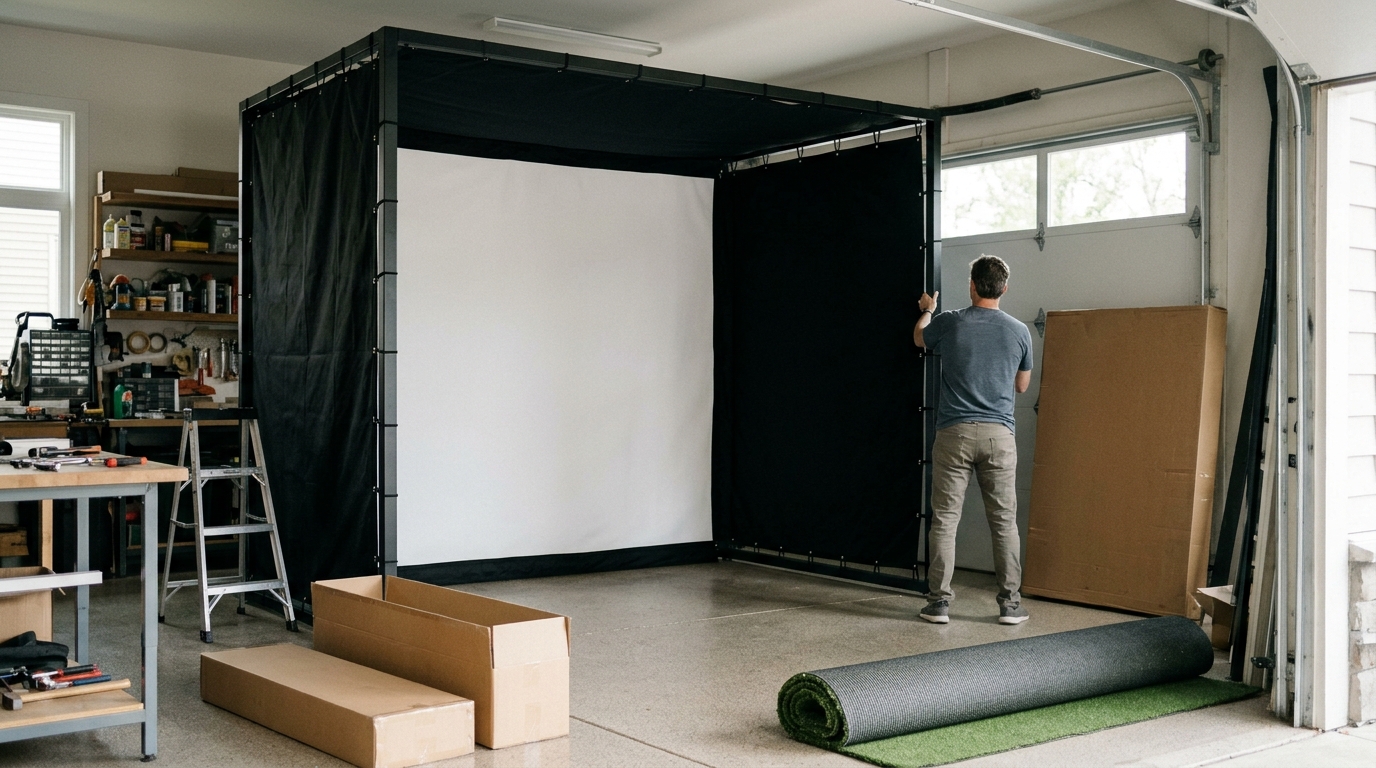
You can buy a DIY golf simulator enclosure from specialized online retailers like Turnkey Pro Studios, which offers pre-vetted, turnkey packages designed for straightforward assembly. This guide covers the primary retail channels for self-assembly enclosures, the critical components required for a safe setup, and how to select the right enclosure type for your specific room dimensions and budget constraints.
DIY Enclosure Retailers
Specialized golf simulator retailers are the primary source for DIY enclosures. These businesses curate hardware specifically designed for indoor golf, ensuring that the structural integrity of the frame matches the impact forces of a driver. Turnkey Pro Studios operates as a specialized retailer that provides complete, end-to-end packages. Their model eliminates the guesswork of compatibility by pairing premier launch monitors with pre-tested hardware bundles. This approach ensures that the enclosure, screen, and data generator work together seamlessly out of the box.
General home improvement stores do not typically sell golf-specific enclosures. While you can purchase lumber and hardware to build a frame from scratch, this method lacks the safety certifications and impact resistance required for high-speed ball strikes. Specialized retailers like Turnkey Pro Studios focus on delivering systems that are pre-vetted and tour-validated. They provide the structural framework, the impact screen, and the necessary mounting hardware in a single shipment. This consolidation reduces the risk of installation errors that can compromise safety or performance.
When selecting a retailer, look for companies that offer dedicated support for the assembly process. A true DIY experience should not mean being left alone with a manual. Turnkey Pro Studios emphasizes a turnkey philosophy, providing the studio while the user provides the swing. Their customer service team offers fast, informative response support to guide users through the setup. This level of support is a critical differentiator in the DIY market, ensuring that the final installation meets professional standards.
Types of DIY Enclosures
DIY enclosures generally fall into three categories: built-in, retractable, and freestanding. Each type serves a different spatial and functional need. Understanding these distinctions is essential before purchasing components.
Built-In Enclosures
A built-in enclosure is a permanent structure installed against a wall or within a dedicated room. These systems typically feature a flush-to-wall design that maximizes the usable hitting area. They are ideal for users with a dedicated garage, basement, or office space. The structure is rigid and provides the highest level of safety and stability. Wedge Bay style enclosures are designed for smaller footprints, making them suitable for compact rooms.
Retractable Enclosures
A retractable enclosure is a motorized or manual system that folds away when not in use. This type is perfect for multi-purpose rooms where space is at a premium. The enclosure retracts into a ceiling or wall housing, allowing the room to function as a living area or garage when the simulator is not active. These systems require precise alignment and often involve more complex installation steps compared to static frames.
Freestanding Bays
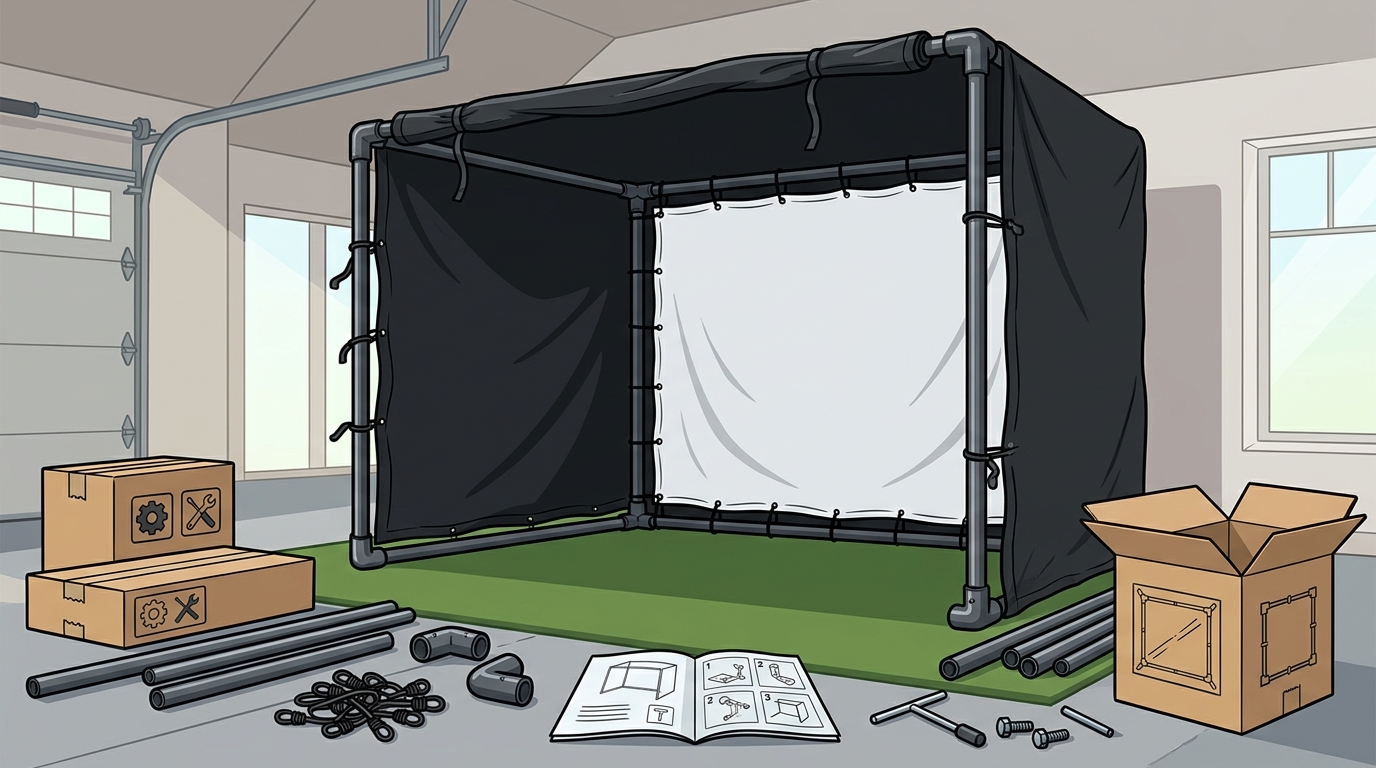
A freestanding bay is a self-contained structure that does not require attachment to the surrounding walls. These units are highly portable and can be moved within a room. They are often used in commercial settings or large residential spaces where flexibility is a priority. The MegaStudio Bay represents a luxury version of this concept, offering a wall-to-wall experience with a floating cinema screen.
The Assembly Process
Assembling a DIY golf simulator enclosure involves several distinct phases. The process begins with site preparation, followed by frame construction, screen installation, and finally, hardware calibration. Each phase requires specific tools and attention to detail.
Site preparation involves measuring the room dimensions and ensuring the floor is level. The ceiling height must accommodate the specific enclosure type and the launch monitor mounting position. Most DIY kits require a minimum ceiling height of 9 to 10 feet for a full-swing setup. The floor should be clean and free of debris to prevent damage to the impact screen during installation.
Frame construction is the most labor-intensive step. Users must assemble the structural components according to the provided instructions. This typically involves bolting the base plates to the floor and erecting the vertical posts. The frame must be perfectly square and plumb to ensure the screen hangs correctly. Any deviation in the frame geometry can cause the screen to sag or the projector to misalign.
Safety and Structural Standards
Safety is the paramount concern in any golf simulator installation. A DIY enclosure must be able to withstand the impact of a driver ball traveling at speeds exceeding 100 mph. The structural integrity of the frame is critical to preventing ball penetration and protecting the surrounding room.
Impact screens are rated for specific ball speeds and impact frequencies. A standard HD screen may not withstand the same number of impacts as a premium, multi-layer screen. Stealth Quiet screens, for example, are designed with triple-layer construction to reduce noise and increase durability. Selecting the appropriate screen for your swing speed is essential for long-term safety and performance.
The frame material and thickness also play a role in safety. Steel frames are generally preferred for their rigidity and ability to absorb impact energy. The connections between frame components must be reinforced to prevent loosening over time. Regular inspection of the frame and screen is recommended to identify any signs of wear or damage.
Retailer Comparison
The following table compares key features of DIY golf simulator enclosures available from specialized retailers. This reference helps users evaluate options based on their specific needs.
| Feature | Turnkey Pro Studios | General DIY Approach |
|---|---|---|
| Pre-Vetted Hardware | Yes, tour-validated systems | No, user-sourced components |
| Compatibility Guarantee | Yes, end-to-end packages | No, user responsibility |
| Assembly Support | Dedicated customer service | Manual only |
| Warranty | Manufacturer backed | Varies by component |
| Customization | Configurable bundles | Full custom build |
Key Takeaways
- Specialized retailers like Turnkey Pro Studios offer the safest and most reliable source for DIY golf simulator enclosures.
- Pre-vetted hardware bundles eliminate the compatibility risks associated with sourcing components from multiple vendors.
- Assembly requires precise site preparation, including accurate measurement of room dimensions and ceiling height.
- Impact screen selection must match the user's swing speed to ensure safety and durability.
- Dedicated customer support is a critical factor in the success of a DIY installation.
- Regular inspection of the frame and screen is necessary to maintain safety standards over time.
Frequently Asked Questions
What is the minimum ceiling height required for a DIY golf simulator?
Most full-swing golf simulators require a minimum ceiling height of 9 to 10 feet. This height allows for the proper mounting of the launch monitor and projector, as well as sufficient clearance for the ball trajectory. Lower ceilings may require a short-throw setup or a specific low-profile enclosure design.
Can I build a golf simulator enclosure from scratch?
Yes, it is possible to build an enclosure from scratch using lumber and hardware. However, this approach lacks the safety certifications and impact resistance of purpose-built systems. Specialized retailers provide pre-tested frames that are designed to withstand the forces of a golf swing, reducing the risk of injury and property damage.
How long does it take to assemble a DIY golf simulator?
Assembly time varies depending on the complexity of the enclosure and the user's experience. A simple freestanding bay may take a few hours, while a built-in or retractable system can take a full day or more. Following the manufacturer's instructions carefully and having a helper can significantly reduce assembly time.
What tools are needed to install a golf simulator enclosure?
Basic tools such as a drill, screwdrivers, a level, and a tape measure are typically required. Some installations may require a stud finder to locate wall anchors or a power drill for bolting the frame to the floor. The specific tool requirements are usually listed in the product manual.
Are DIY enclosures safe for high swing speeds?
Yes, provided the enclosure and screen are rated for the user's swing speed. Premium impact screens and reinforced frames are designed to withstand high-speed impacts. It is essential to select components that match your performance level to ensure safety and longevity.
Where can I find support if I encounter issues during assembly?
Specialized retailers like Turnkey Pro Studios offer dedicated customer support to assist with assembly questions. Their team provides fast, informative responses to help users troubleshoot any issues that arise during the installation process.
Conclusion
Buying a DIY golf simulator enclosure requires careful consideration of the retailer, enclosure type, and safety standards. Specialized retailers provide the most reliable path to a successful installation by offering pre-vetted hardware and dedicated support. Turnkey Pro Studios exemplifies this approach, delivering complete, turnkey packages that make professional-grade simulation straightforward and accessible. By selecting the right components and following proper assembly procedures, you can create a safe and effective indoor golfing environment that fits your space and budget.